From Nontouring to Clean Picks: A Complete Contour Guide
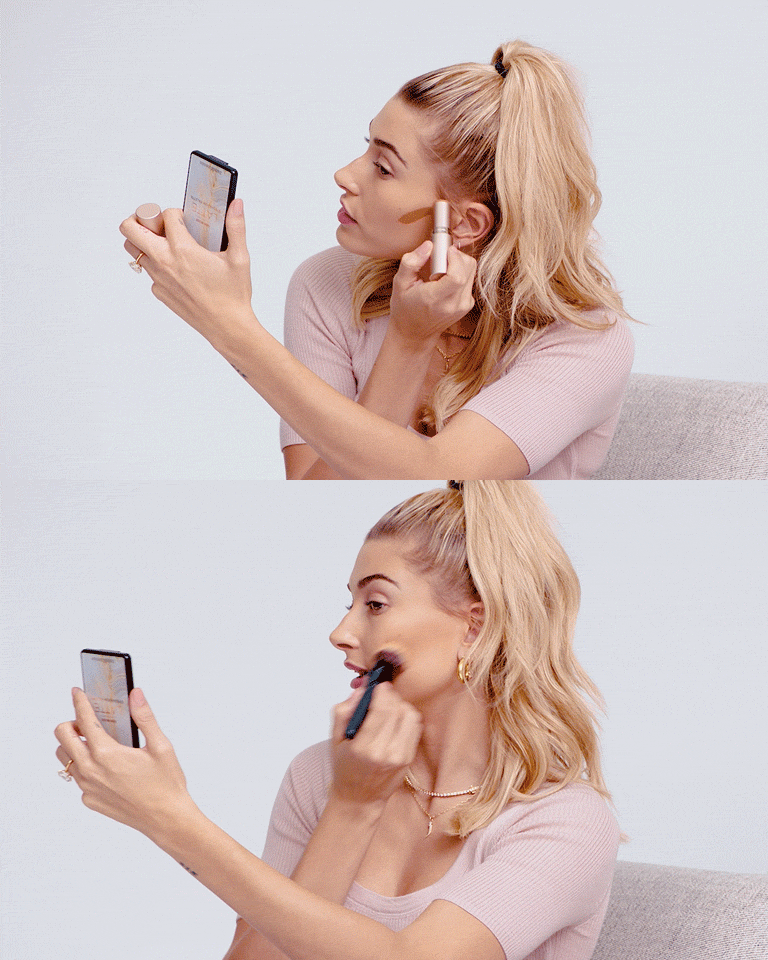
Contouring may conjure thoughts of dramatically draped cheeks and intense multi-step routines, but according to bareMinerals Global Makeup Artist Carly Giglio, the technique can be surprisingly simple, not to mention versatile. “Contouring has been made to seem very complicated, but it doesn’t have to be,” she says, adding that contour makeup can be customized for a variety of looks, some quite subtle. “With contouring, less is more. I like to start with less and then build. You can layer textures and finishes for dimensions and you can have more control.”
What Is Contouring?
Let’s start with the basics. “In a nutshell, contouring allows you to add depth and structure to the face, wherever you want it,” says Carly. “It’s all about playing with shadow and light.” As a general rule of thumb, light brings things forward, while darkness makes things recede. The idea is to use lighter shades on the naturally raised parts of the face to accent them and darker shades on those places you’d like to sculpt. When it comes to picking your darker complexion formulas, Carly recommends going two to three shades deeper than your skin tone while staying in your undertone family. “As a general rule, staying within the right undertone gives you the most harmonious, balanced look and keeps skin from looking muddy or overly warm,” she says.
How to Contour Your Face
You’ve probably seen makeup artists and influencers triangling, dotting and striping their faces using heavy-looking makeup, but according to Carly, contour makeup can also create natural-looking effects. “You can use the triangling or striping techniques, as they help you identify the right spots on the face to focus on, but to avoid making hard lines I like to ‘nontour,’ which means adding depth and structure [to the forehead, cheekbones and nose] but keeping the edges diffused and blended,” Carly says. The goal of nontour is to create “soft, natural-looking shaping and sculpting effects,” which is totally compatible with a natural makeup look.
Contouring Techniques to Know
One technique Carly loves when contouring (or nontouring, as the case may be) is called underpainting, which means applying a liquid bronzer formula first, then using powder highlight over, on cheekbones and temples. When underpainting, she recommends starting in the hollows of your cheeks. Expert tip: you can find the right spot to place your bronzer by making a “fish face” or using your makeup brush to plot the point from the corner of your lip up to the corner of your head, right above your earlobe.
For a more natural-looking contour, Carly recommends the inverse, namely starting with highlighter. “Because light brings things forward and dark sets them back, if you highlight first, it looks like a natural glow on your skin,” she says. “After highlighting, you can then go into areas like hollows of the cheekbones with your darker shades.”
What to Use to Contour
You might be wondering what to use for contouring. Ultimately there isn’t a one-size-fits-all technique or product list. In fact, Carly is a big fan of using different mineral makeup formulas and brushes for a variety of effects. For example, if you want to contour your nose or smaller areas of the face, using a stick formula and a small flat brush, like our Max Coverage Concealer Brush, gives you more precision and control. Meanwhile, if you are working on the cheekbones, using powders and fluffier brushes like our Supreme Finisher Brush help keep your contour looking soft and diffused.
Whatever technique and products you choose, Carly says that customizing your contour and highlight should be based mostly on the shape of your face, and which parts (i.e. cheekbones, forehead, chin, nose) you want to draw the most attention to versus sculpt. To find the right makeup formulas and brushes to achieve your ultimate clean contour look, we created a fool-proof contour guide. Below Carly shares her favorite bareMinerals products (along with highlighter and brush partners) and insider tips to help you get you there.
BAREPRO GLOW Bronzer
Carly loves using a liquid bronzer to contour, because it creates an airbrushed effect and it’s easy to manipulate during the application process. She recommends using it for underpainting, focusing on the cheekbones, jawline, hairline and any areas where you’d like add warmth and structure. When underpainting, start with a small amount of bronzer, building slowly to ensure a natural-looking effect. Once you’re happy with the amount of bronzer applied, you can add powder highlighter like our shimmering, glitter-free ENDLESS GLOW Powder Highlighter, or our loose MINERAL VEIL Illuminating Finishing Powder for a more subtle glow. If you’d like a dash more coverage, opt for a light foundation like COMPLEXION RESCUE Tinted Hydrating Gel Cream, applied only where you need it to keep skin looking fresh.
Contouring Brush: Seamless Shaping & Finish Brush
Highlighter Pairing: ENDLESS GLOW Highlighter or MINERAL VEIL Illuminating Finishing Powder
ENDLESS SUMMER Bronzer
For a more diffused, sun-kissed effect, opt for contouring with a bronzer in pressed powder form. According to Carly, after applying your foundation and liquid highlighter, apply a powder bronzer like our ENDLESS SUMMER Bronzer, using a fluffy brush on the hollows of your cheeks, temples, hairline and jawline, or wherever desired to create shape. Start light and build for more control. If you want to add a bit more drama, you can use a smaller brush like the Shade & Diffuse Eye Brush for a more distinct sculpting effect. (Carly says not to worry about a brush’s intended use, as any makeup brush can be used to contour.)
Contouring Brush: Seamless Shaping & Finish Brush or Shade & Diffuse Eye Brush
Highlighter Pairing: ENDLESS GLOW Highlighter
COMPLEXION RESCUE Hydrating Foundation Stick SPF 25
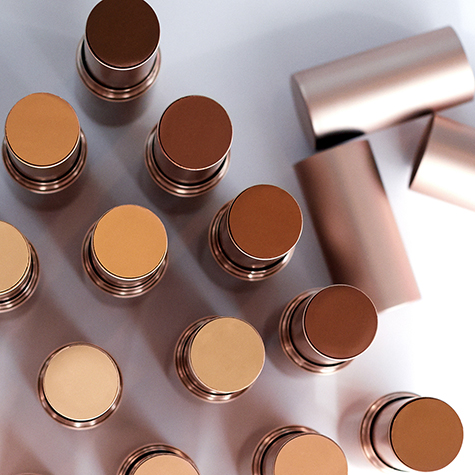
Carly loves using our COMPLEXION RESCUE Hydrating Foundation Stick SPF 25 to contour because it’s creamy, easy to apply, and blends so easily. The mineral water-infused formula also comes in a convenient stick format, which is the perfect shape to create stripes, which you will then blend into skin. Start by picking a shade two to three shades darker than your foundation shade. Next, stripe wherever you’d like to create shape and structure (a little goes a long way, as the clean formula is super creamy and pigmented). Blend in short strokes going upward, buffing as needed for your desired level of coverage. Finish by dusting a powder highlighter on the high points of the face.
Contouring Brush: Smoothing Face Foundation Brush
Highlighter Pairing: ENDLESS GLOW Highlighter
BAREPRO 16-Hour Full Coverage Concealer
Using a concealer is great for sculpting smaller areas of the face, like the nose, says Carly, who likes to use her fingertips to warm up the formula and place it exactly where she wants it. She recommends applying your concealer to the hollows of cheek bones, beginning by the corner of your lip up towards your ear, blending upwards. When looking for the right shade of concealer to contour, Carly recommends using more than one to create a gorgeous ombré effect, giving layers of dimension and extra shape. She also recommends using an illuminating finishing spray like our DEW MIST Setting Spray as a highlight to offset the texture of the concealer. To use DEW MIST Setting Spray for a highlight, simply spray the Kombucha-infused formula onto a silicone sponge, then press into the high areas of the face for an amplified highlight.
Contouring Brush: Blooming Blush Brush
Highlighter Pairing: DEW MIST Setting Spray
ALL-OVER Face Color in shades Warmth or Faux Tan
Contouring with a loose powder may seem difficult to master, but according to Carly, it’s super user-friendly because you have the ability to add a light dusting or build to a deeper intensity, simply based on your brush choice. By applying with a fluffier brush, like our Supreme Finisher Brush, you can achieve a natural-looking airbrushed effect. However, if you use a more targeted tapered brush, like our Diffused Highlight Brush, you can get a more defined look. Wherever you lay the product first is where you’ll get the most intensity — especially when it comes to loose powders — so it’s important to ensure your brush doesn’t have too much product on it. Carly recommends starting with a light amount, then building as needed. As for shades, both of these are cult favorites, but if you have a warmer skin undertone, Carly recommends the shade Warmth, while Faux Tan is ideal for cooler undertones.
Contouring Brush: Supreme Finisher Brush or Diffused Highlight Brush
Highlighter Pairing: MINERAL VEIL Illuminating Finishing Powder

